
Selenium IDE in Firefox is one of the easiest ways to start with automation testing. In this guide, you’ll learn how to install, set up, and run your first test
- How to Install Selenium IDE in Firefox (Step 1):
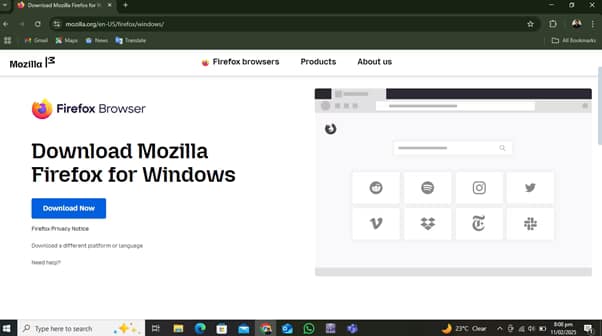
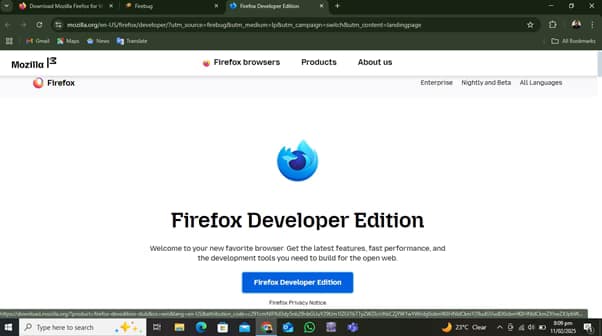
Download and install the Firefox Web Browser and Firebug (Firefox Developer Edition) on your PC or laptop
2.Install Selenium IDE(Step 2):
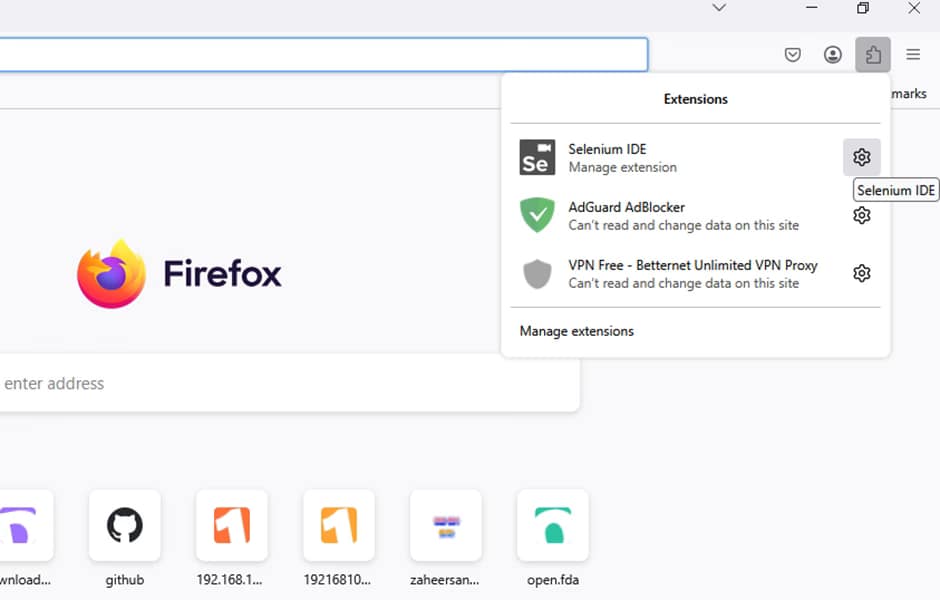
Open the Firefox browser, navigate to the extension store, and download the Selenium IDE extension. Alternatively, download it directly from the browser. Once installed, open Selenium IDE.
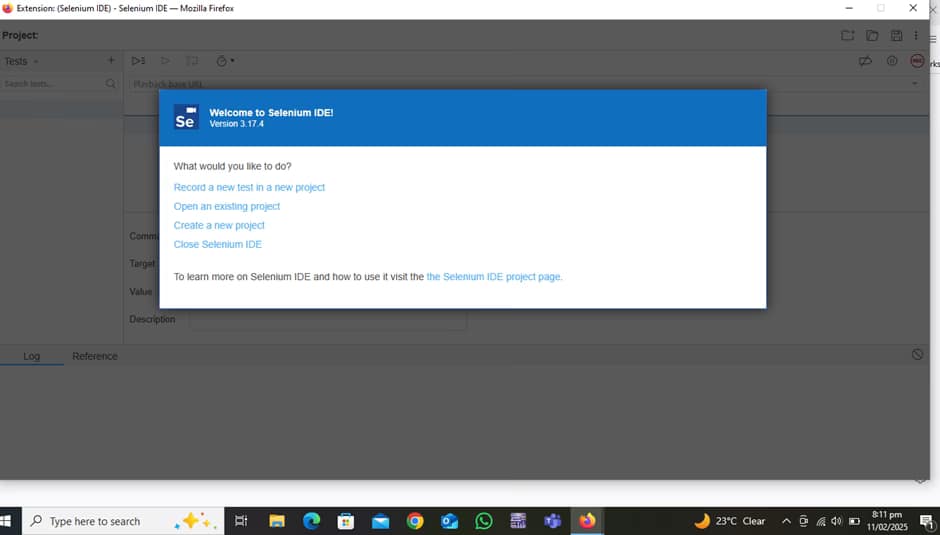
3.Creating a New Project in Selenium IDE for Firefox (Step 3):
Launch Selenium IDE and click on “Create a New Project” to start.
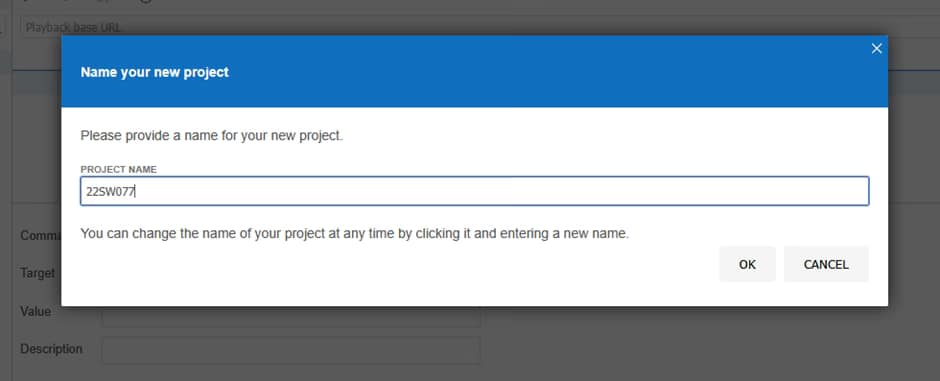
4.Name Your Project(Step 4):
Enter a suitable project name and click “OK” to proceed
5.Enter Website URL(Step 5):
Provide the URL of the website you want to test in the designated field (highlighted in yellow).

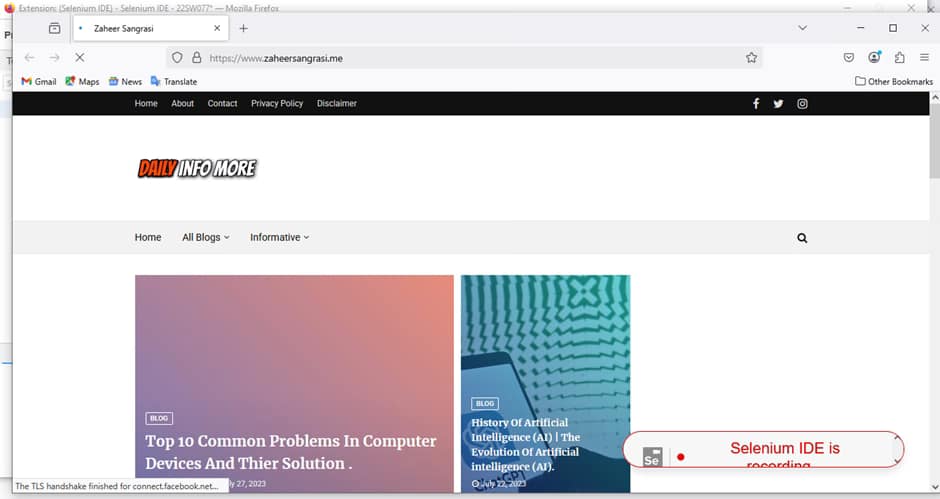
6.Recording Test Cases with Selenium IDE in Firefox (Step 6):
Click on the Recording button to begin capturing user interactions for the automation test case.

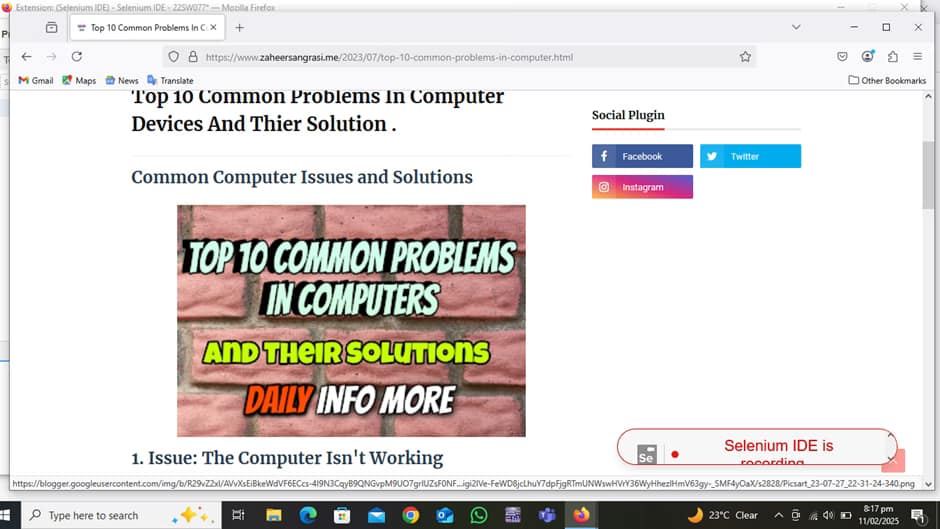
The website will open automatically, and as you navigate through different pages, Selenium IDE will record all your actions seamlessly.
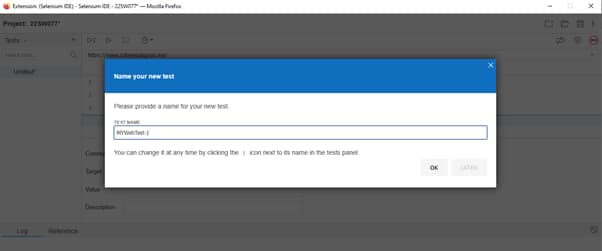
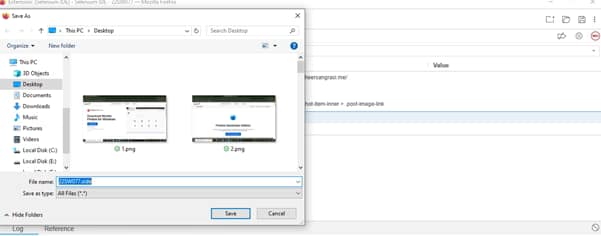
7.Stop Recording & Save the Test Case(Step 7):
After completing the necessary interactions, return to Selenium IDE and click the Recording icon to stop recording.
- A pop-up window will appear, prompting you to name and save your test case. Enter a suitable name and confirm.

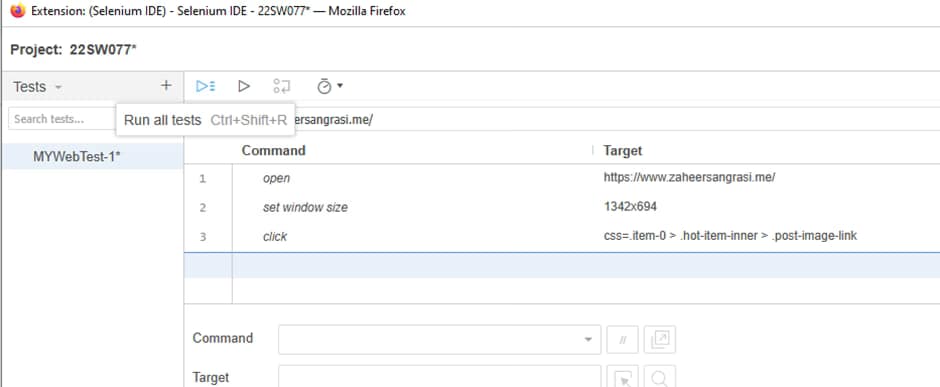
8.Running and Verifying Tests in Selenium IDE for Firefox (Step 8):
Click on the “Run All Tests” button to execute the test case in Firefox. Selenium will automatically replicate the actions recorded during the session.
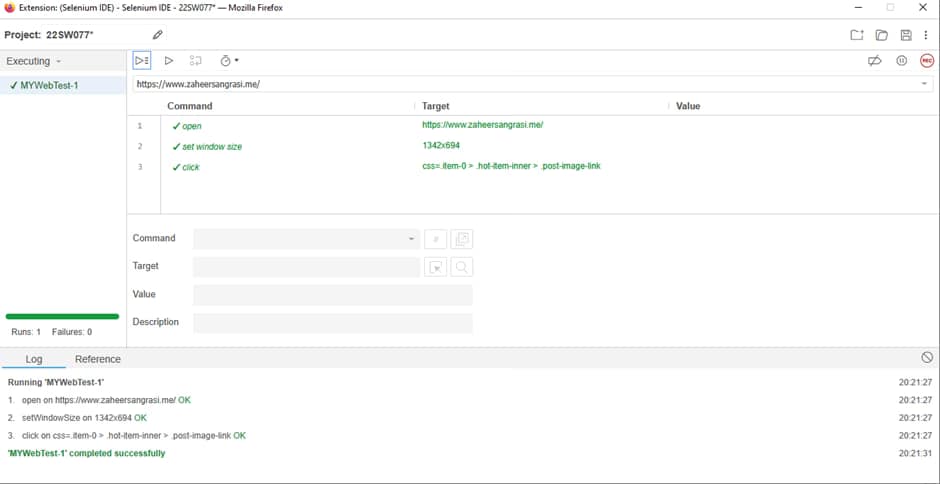
9.Verify the Test Execution(Step 9):
Once the test execution is complete, Selenium IDE will display the test commands in green, indicating that the test has successfully passed.
Learn more from the official Selenium website


Pingback: Agent-Based Intelligent Systems Explained: AI, Applications & 10 Future Trends